
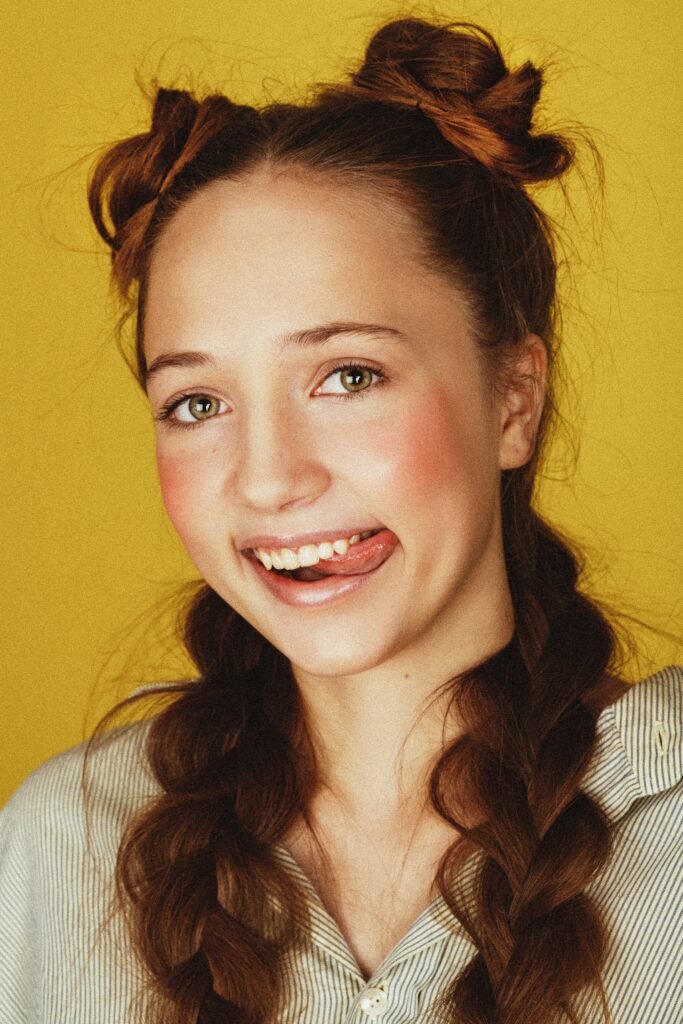
Braid Hairstyles
How to do Bubble Braids
Oct
If you’re interested in learning how bubble braids work, you’ve come to the right place! Bubble braids offer a distinctive aesthetic and don’t require much installation time.
What are Bubble Braids?
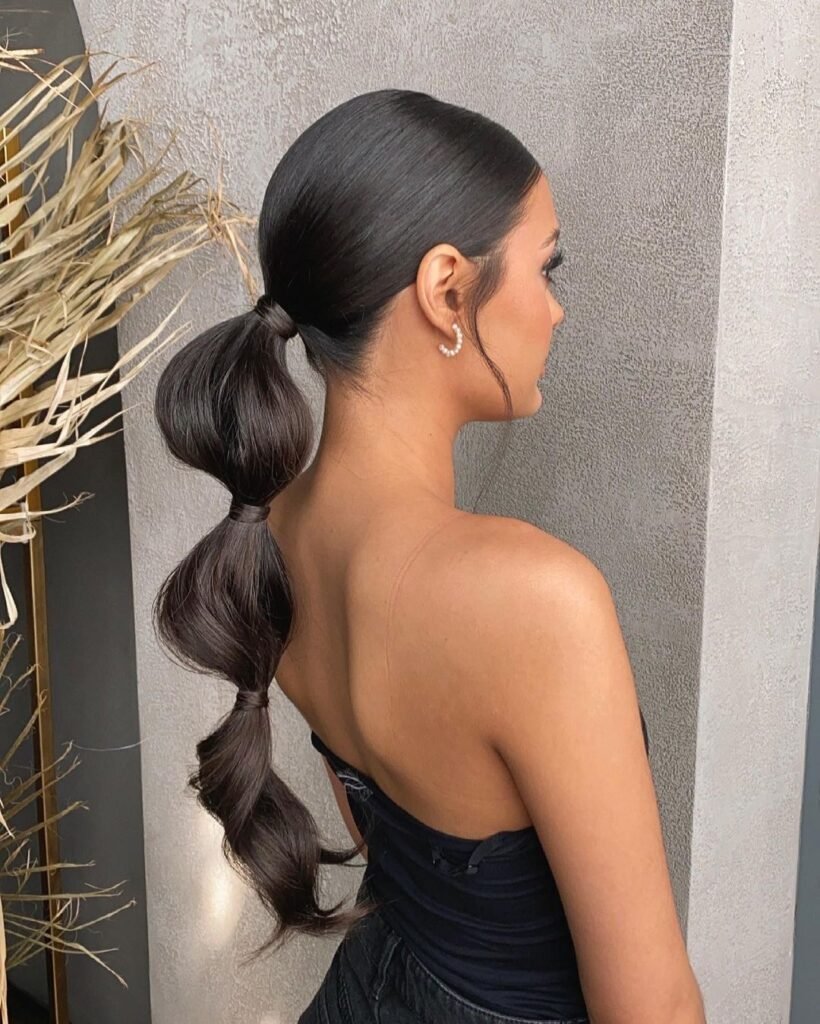
Regular braids and bubble braids are similar, however, bubble braids are simpler and take less time to do. They are made up of a single hair strand that is formed like a bubble and can be put up in a ponytail, pigtail, or other styles.
This look is distinctive and fashionable due to celebrities continuing to wear it. Since it may be styled in a variety of ways, including the standard French braid format, bubble braids or a pony give versatility. Both your hair and hair extensions can be used to create bubble braids.
Ponytails are occasionally the go-to style to cover the greasy roots and all that, but creating a bubble braid or pony changes up the appearance and says, “How about we rock this instead,” and does it significantly more quickly.
How to do Bubble Braids; Step by Step Guide
Following the step-by-step process will get you creating the perfect kind of bubble braids in no time!
1. Prepare the Hair with a Texturizing Spray
Dry hair should be texturized with hairspray. To start, use a paddle brush to fully detangle all of your dry hair’s tangles. Spray a texturizing hairspray all over your head to give your strands a little more volume and hold. A texturizing spray is a lightweight buildable mist designed to add texture and lift. It is the key to perfecting the bubble braids.
Apply a volumizing powder or dry shampoo product to the roots of your hair if you have very fine hair or if you need more body, and then fluff it up with your fingers. The best hair is that which hasn’t been washed, but if you’ve just washed, just add a bit more volumizing product.
By gently backcombing your hair at the roots, you can also add more volume and get a more tousled appearance.
2. To create a dramatic lift, use a firm metal or plastic ponytail holder.
Secure the base with a sturdy metal or plastic pony cuff or ponytail round barrette, regardless of whether you choose a regular ponytail, a half-up ponytail, or a Dutch braid-like choice. When creating a typical bubble pony, a strong cuff offers the ponytail lift and solidity right at the root, making the bubble pony more dramatic.
Then you might wish to smooth your hair with your fingers after brushing it back.
3. Doing a Bubble Braid
Put your thumbs just above your ears on either side of your head to create a half-up, half-down bubble pony. To lift and separate an equal amount of hair from each side, place your thumbs above the top of your head of which the hair should be pulled back into a half-ponytail that is fastened directly behind the crown of your head.
Use a transparent elastic band to hold the base in place if you like a flatter half-up or half-down pony. Alternatively, think about utilizing a flexible bungee band. To conceal the base of the clear elastic band, take one strand of hair and gently wrap it over the top of the band.
Wrap the hair until it is completely covered, and then hook the ends of the strand under the elastic. It’s crucial to wrap the hair loosely so it will be simple to loop it underneath the plastic.
Then, use your fingers to gently thread them underneath the sides of the hairline to gently loosen it and create a softer appearance rather than a tight slicked-back one. Back brush the remaining hair to give it a lot of volumes. With fingertips, smear the top evenly. Make your first bubble about two inches below the first base and keep at that as you proceed down the length.
After you tie the first ponytail, measure the length of your remaining hair and space the remaining bubbles appropriately if you want them to be evenly spaced. Create a ponytail out of the remaining free hair. The second bubble will be a second ponytail merged with the first and gently push the hair up. At the base of the newly added part, fasten a second ponytail. Use a transparent elastic.
Take another piece of hair from your head and wrap it around the new basis in the same manner as the previous ponytail base as you work your way down the length of your remaining hair until it is finished. Tug at the individual bubbles for a more edgy and tousled appearance.
4. Put in the Finishing Touches
Make sure that the bubbles are all roughly the same size –horizontally and vertically , but concentrate on making them appear slightly messy and tousled. That’s where the beauty lies. You can create as many or as few bubbles as you wish, but larger bubbles can look amazing when properly tousled.
You can just do one ponytail and create a bubbled down the length if you’d prefer to forgo the half-up/half-down bubble ponytail. Until you achieve your own distinctive and personalized bubble ponytail style, back brush, tousle, and use fingers to pluck out random hair. And, don’t forget to spray everything with hairspray to keep all of your effort in place.
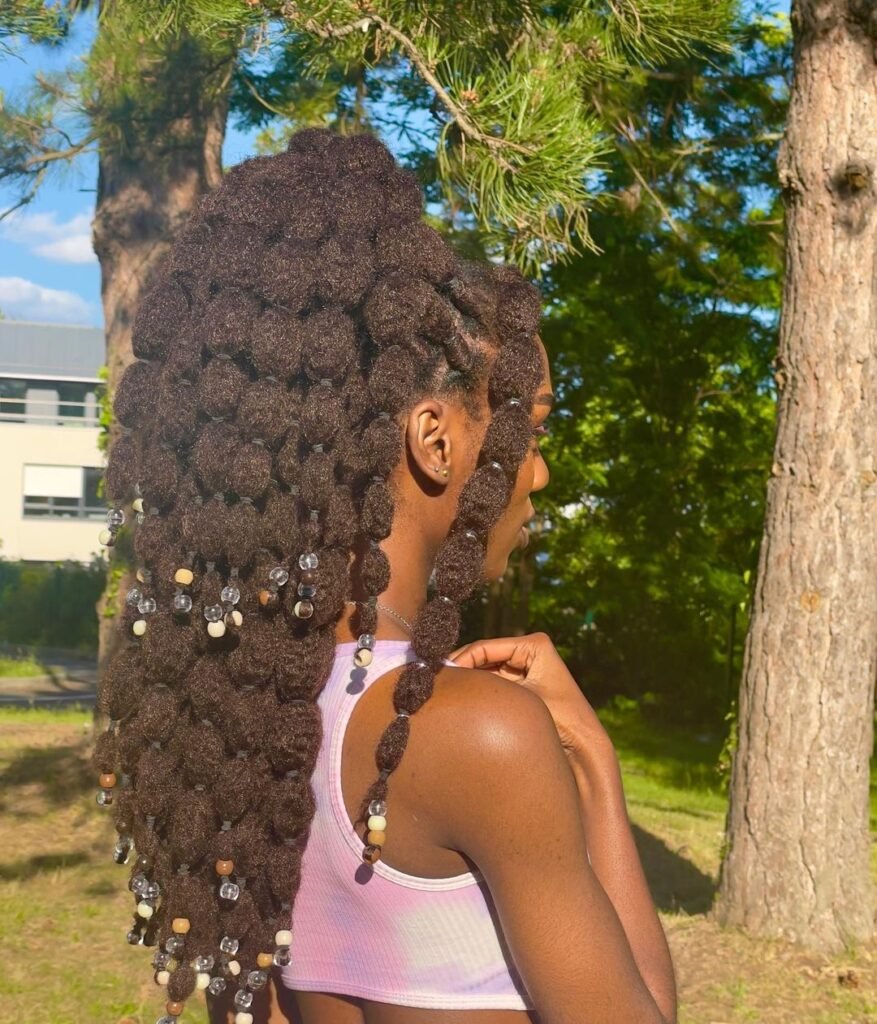
How to do Bubble Braids with Extensions
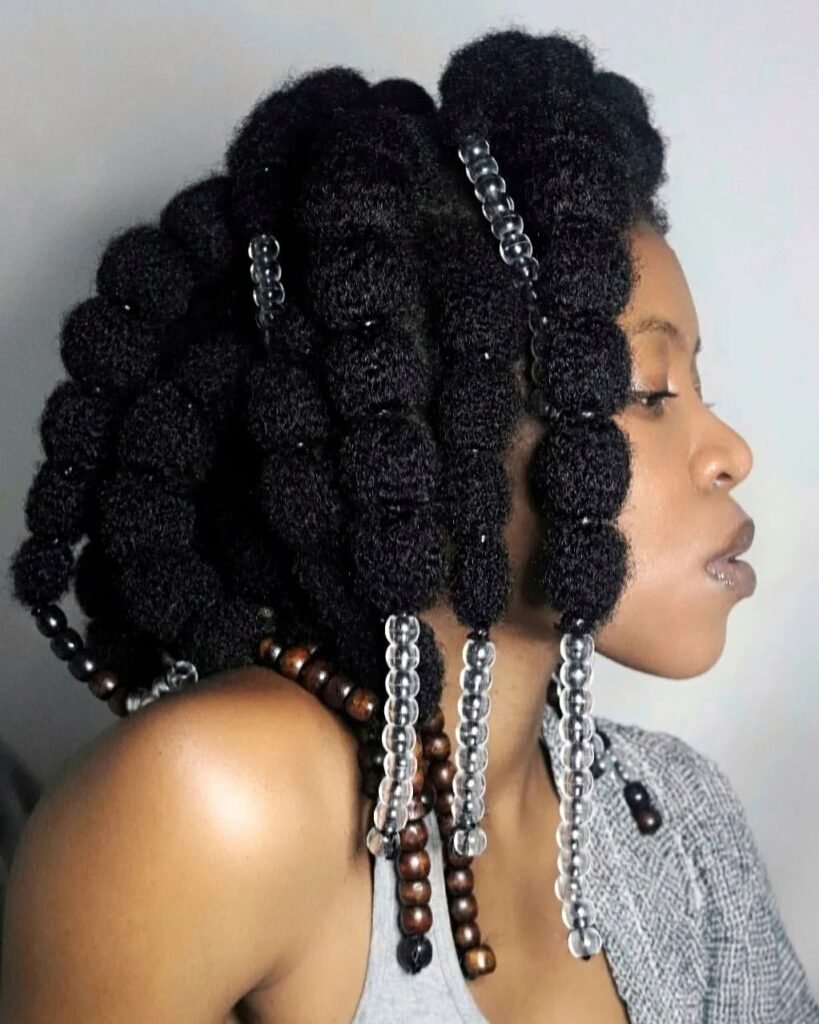
For type 4 hair, which has a tighter curl pattern, it would be necessary to wash the hair, blow dry it to stretch it out, and then use a heat-protecting product to prevent damage to the hair strands. Heat can change the natural proteins in the hair, disrupting its structure.
Following the step-by-step instructions, apply gels to smooth out the hair and give it a generally beautiful appearance. Because of its distinctive curl pattern, this hair type typically does not require texturizing products.
This hair type may frequently need the addition of hair extensions or a clip-on ponytail. The first step in choosing an extension is to select one that is most compatible with your hair type and texture because bubble braids should look natural. After that, bubble braids the extensions as described above and secure them to your hair bun. It’s easy and won’t take too long!
Care Tips for Bubble Braids
Despite how adorable bubble braids might be, they can only be worn for two to three days at most, maybe more with extensions. However, how you take care of it has an impact on how long it lasts.
The main care tip is to put your bubble braids in a bun and cover it with a silk or satin head wrap before going to bed. This will preserve the style because the head wrap allows for a smooth glide, which accounts for less friction, and this would not be the case for cotton bedding, especially with the tossing and turning, as it will grab hold of the hair and absorb moisture, causing frizz.
If you notice any stray hairs, you could always brush back the hair and add extra gel.
Conclusion
Have fun! and keep in mind that no two bubble ponytails will ever be identical. Each bubble’s base can be adorned with bands and crystal embellishments. Or you might clip on strands of hair in vibrant colors. Alternately, wrap the base in strands of hair or brightly colored string.
Of course, you can utilize clip-in ponytails or other strands to aid you out if you don’t have enough hair for a lengthy bubble pony.
