Braid Hairstyles
How to Create Beautiful Knotless Braids at Home
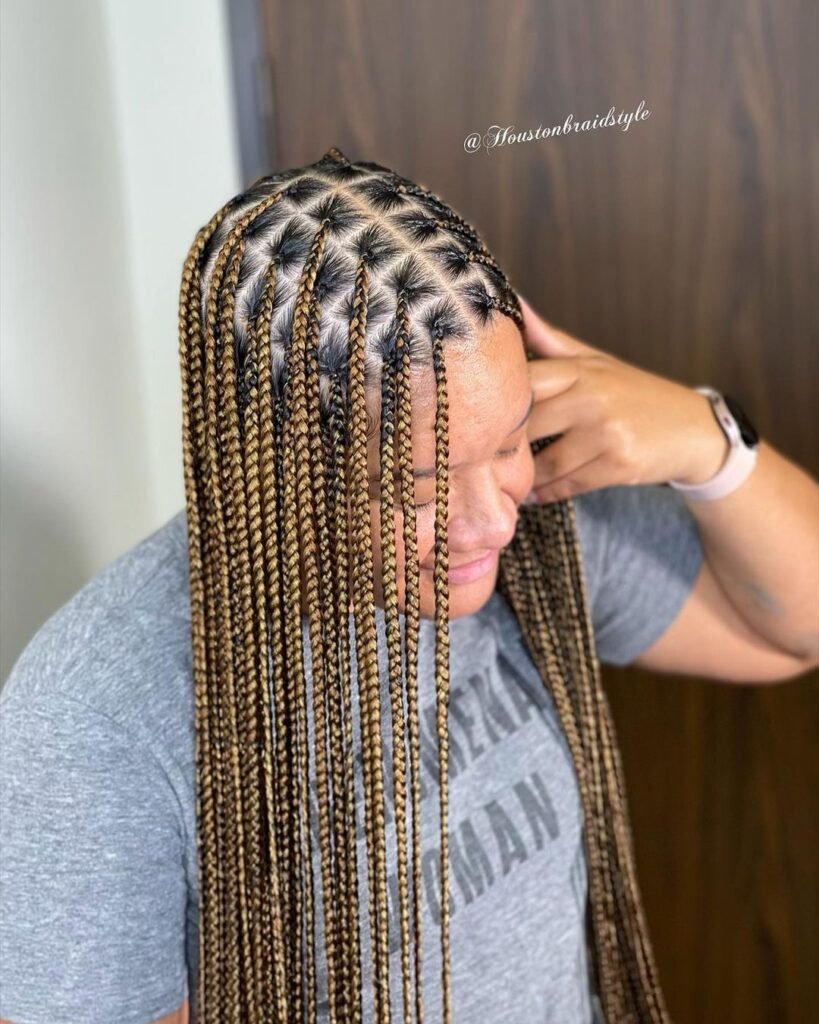
Knotless braids are popular right now, and for good reason, I might add. They provide a natural, flat appearance while putting less stress on the scalp and are considerably less painful than traditional box braids. For additional details and to learn how to create knotless box braids, continue reading!
What are Knotless Box Braids?

Knotless braids, as the name implies, have no knots. Instead of an anchor knot, they employ a feed-in braid technique, which is easier on your scalp.
Instead of damaging your edges and placing stress on your scalp which could lead to traction alopecia, a condition that results in hair loss due to increased stress, the braiding hair extensions are gradually weaved into your natural strands to produce a seamless finish. As a result, they are less damaging to your hair than traditional box braids and are not only simple to style but also gorgeous.
Knotless or Box Braids?
The primary distinction between knotless braids and box braids is the use of hair in the creation of knotless braids, which are subsequently braided using a feed-in technique to produce a natural seamless appearance.
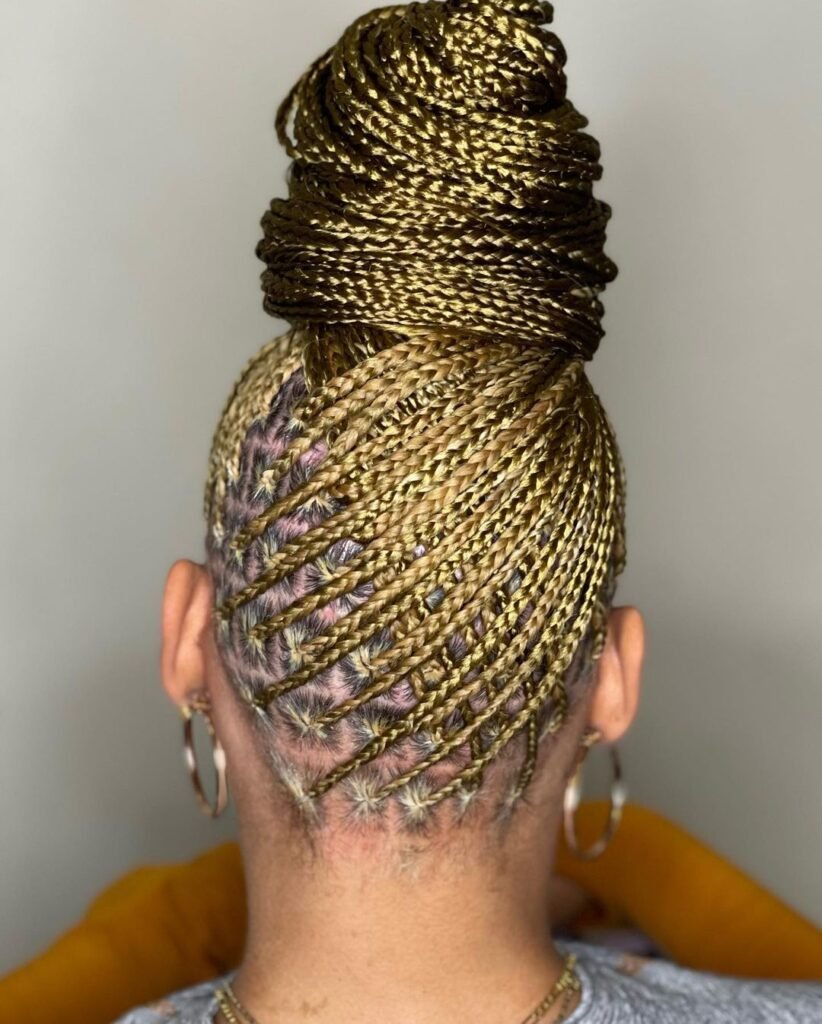
By forming a knot around the hair, box braids are created. Both offer protective styles, which are similar, but which is preferable depending on personal preference.
Because it is less painful and has a more natural appearance, many claims that knotless braids are the only ones for them. However, others argue that box braids are preferable because they are less scalpy, do not emphasize the appearance of the roots, and last comparatively longer.
As was previously stated, it all comes down to personal preference. Choose which suits your tastes better and stick with it, or even better, try both and see which works best for you.
Preparatory Process for Knotless Box Braids
Washing your hair with a moisturizing shampoo before braiding is recommended because it is gentler on the hair than regular shampoo. Then, you need to apply a conditioner to give your hair the gliding action it requires to be simple to untangle and the hydration it requires to remain healthy.
Using a wide-toothed comb, begin detangling hair in sections, beginning at the tip and working your way up, to lessen stress on the hair strands, which are sensitive when wet.
Once the hair is detangled, rinse the conditioner out, pat it dry with a microfiber towel to lessen friction on the strands, and finish by using a leave-in conditioner to keep the hair moisturized all day! The hair should be blow-dried; stretching it out would make the braiding process less painful and enhance the aesthetic appeal and cleanliness of the parting.
It is essential to spritz heat protectants on sections of your hair before blow drying because excessive heat exposure could disrupt the natural proteins in the hair and alter its structure.
Knotless Box Braids: How to Install

Knotless braid installation is a simple do-it-yourself project, much like doing a simple plait. Following the detailed instructions would help you arrive soon!
Utilizing ready-to-use hair bundles and freshly washed hair is required for the installation. Run a bowl of warm water and add around 2.5 cups of vinegar over your hair bundles to prepare them, and covering that can irritate your scalp will be removed in the process, to avoid that itchiness that can most times occur, however, if this feels like way too much work look out for pre-treated hair bundles.
Let the hair bundle in the bowl, and soak for two hours. After a thorough rinse, let the hair air dry for the remainder of the day. You’d discover a white film left after the prepping process, that is the irritant right there!
Start dividing your hair into boxes or in the style you choose starting at the nape of your neck. Use a rat-tailed comb for this and edge cream on each section for smoothness and tangle-free results.
Before placing the bundles, you must make sure that the small separated sections are drawn up into a high ponytail. To make a single section of hair sleek, minimize frizz, and make it easier to blend with the hair bundle, apply an edge cream or hair gel to it all the way to the end.
Take a small hair section, braid up to two inches long and add in smaller bits of hair extensions until your desired size is reached and braid to the end.
To make sure the end is not blunt, the bundles would need to be stretched out before being installed. This is nothing to worry about as pre-stretched hair is also available! Then cover your entire head by continuing in this manner.
What type of hair works best for knotless box braids?
The hair extension itself is crucial in obtaining that seamless appearance in addition to technique. It can be challenging to choose from the many available hair types, but there are still some great options. At the top of the list and easily accessible on Amazon and other beauty retailers are Xpression and Kanekalon hair.
How Long Does it Take to Install Knotless Box Braids?
It can take anywhere from 4 to 8 hours on average, depending on the thickness, texture, style, and length of your hair. Therefore, I advise getting some snacks and books since you’ll be reading and rereading them before heading to that appointment. Anything else that would make you most comfortable, including headphones.
Depending on your degree of competence and desired style, doing it yourself will take the same amount of time or longer. Knotless braids can last for up to four to eight weeks with proper care and maintenance, but it’s advised to remove them not more than six weeks to avoid long-term hair damage.
Knotless Box Braids Care and Maintenance
To get the most out of knotless box braids and keep your hair both groomed and protected, take good care of them. Box braids are a protective hairstyle, and like any protective hairstyles, if you don’t take proper care of them, they could work against you. In order to prevent skin infections, you must also keep your braids nice and clean.
Can you wash knotless braids? is typically the initial query made by newbies. You very certainly can! Knotless box braids can be washed, especially if you have an active lifestyle. You might want to take note of the fact that frizz appears after every wash.
Use dry shampoo in the interim to get rid of any extra oils and debris on the scalp. A wash is advised two to four weeks after. It’s crucial to do this to prevent moisture, perspiration, oils, and filth from building up on your scalp, which can serve as a breeding ground for bacteria and fungus.
Once you’ve washed your braids, ensure they are completely dry to avoid odors. Added care guidelines include the following:
- To keep your scalp clean, use residue-free shampoo.
- Massage hair oils into your scalp to increase blood flow, which will accelerate hair growth.
- Wear a silk or satin head scarf as you sleep to keep your hair in place and prevent tangling.
- Keep your braids groomed and moisturized frequently.
- Consider having it removed if your hair is matted and your scalp is extremely itchy.
- When wearing knotless braids, no longer than six weeks should elapse.


