Braid Hairstyles
How to Part Hair for Box Braids – 9 Techniques
Because of their simplicity in styling, adaptability, stunning results, and significance to the majority of black women, box braids are an indispensable protective style.
However, a box braid has a distinctive parting method that enhances the braid’s attractiveness and enhances its overall appearance.
With a smooth and well-defined parting, as opposed to a random and rough parting, you can achieve braids that are worth talking about. If you want to pull off a sophisticated box braid, here are a few distinctive features to keep an eye out for. The lovely thing is that you can always change the parting style.
9 Ways to Part Hair for Box Braids
Like with any other hairstyle, the beauty is in the parting style, and a parting comb and hair gel are necessities to get that sleek and defined part. A nice, clean head of hair that has been stretched makes parting easy.
So wash your hair well, continue with your usual hair care regimen, and then blow dry or let the air dry to begin the procedure.
1. Diamond Parting

Split the hair in half from top to bottom, and in the back section, make a clean diagonal part down the left side from the ear to the nape area. Then, take a small section of hair and braid it into a box braid before making another diagonal part in the opposite direction. It’s best to do this parting style from side to side.
However, it is more practical to do it row by row and to continue with the diagonal row once you reach the top area of that short hairpiece. Going from left to right until you reach the center of the head is the key to the diagonal portion.
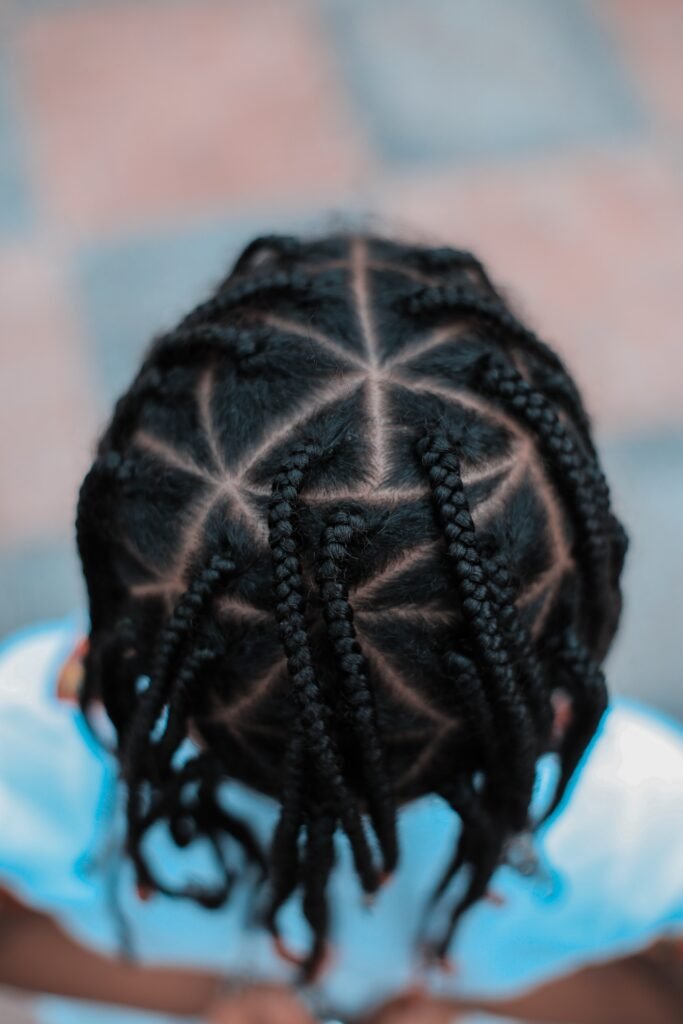
2. The Triangle Part

Typically, triangle components are smaller than boxy parts because, in contrast to boxes, there is less control over the splitting design.
Start by dividing your hair into halves. Starting at the back of your head, make a small row and divide your hair into three equal boxy sections. Grab the middle section, and using your parting comb, remove small hair pieces to shape it into a triangle. Then, add the remaining sections of hair on the left and right sides.
Take your comb and follow the first box braid’s line for the following row after braiding the first row to create another.
The important thing is to make sure that the bases are aligned and that you understand the parting style. This splitting style is tiresome but not difficult to do; on the contrary, it’s fairly straightforward.
3. The Zig Zag Parting
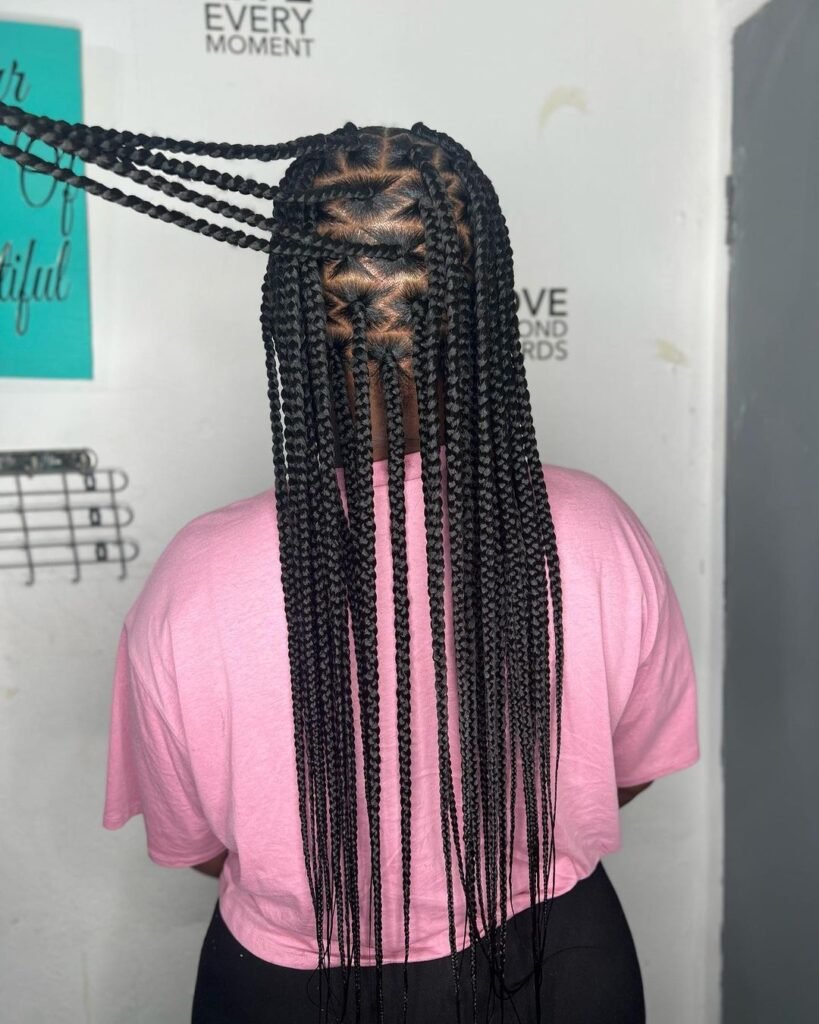
Starting at the back, separate the hair into a row and go through it with a parting comb to make it crisp and tidy. After that, you use your comb once more to go over the line in a zigzag pattern to ensure that it is clean and precise. Next, split the hair section into smaller sections for braiding.
4. Bricklayer Parting
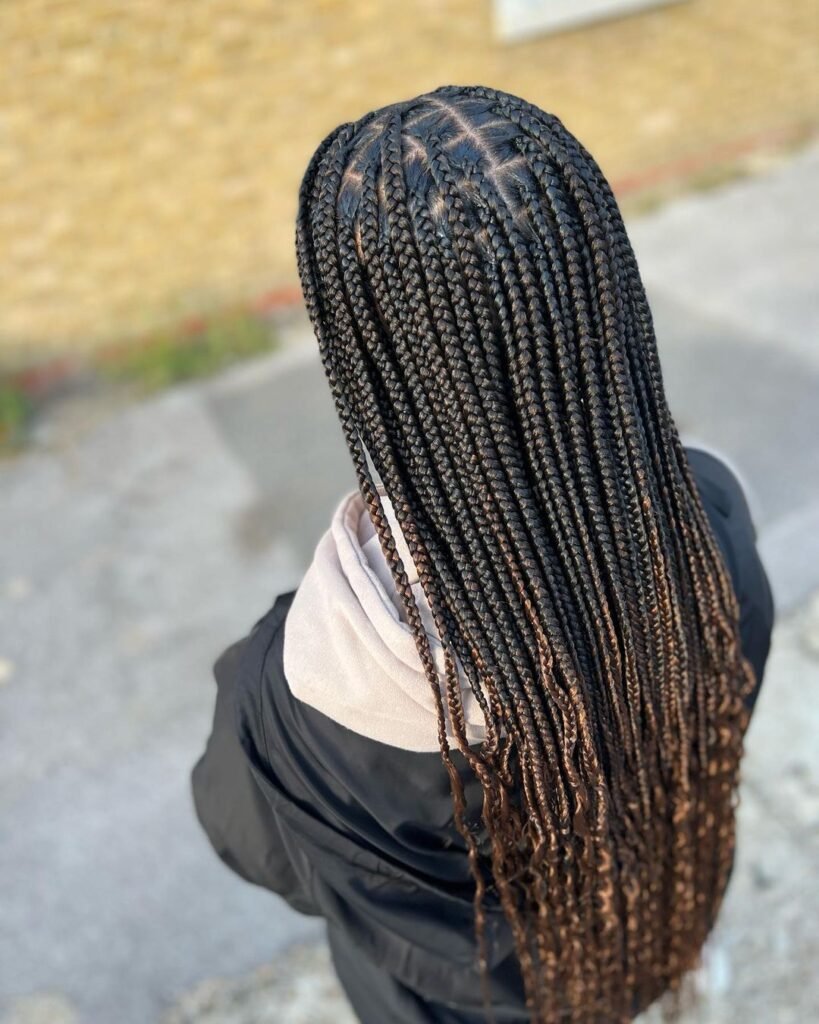
Section the hair into halves and chip away the one half. Starting at the back, put your hair in a row after which divide the hair into smaller equal boxy parts. Next, create another row and divide it into sections with one being in the middle of two boxes in the previous row.
5. Puzzle Parting
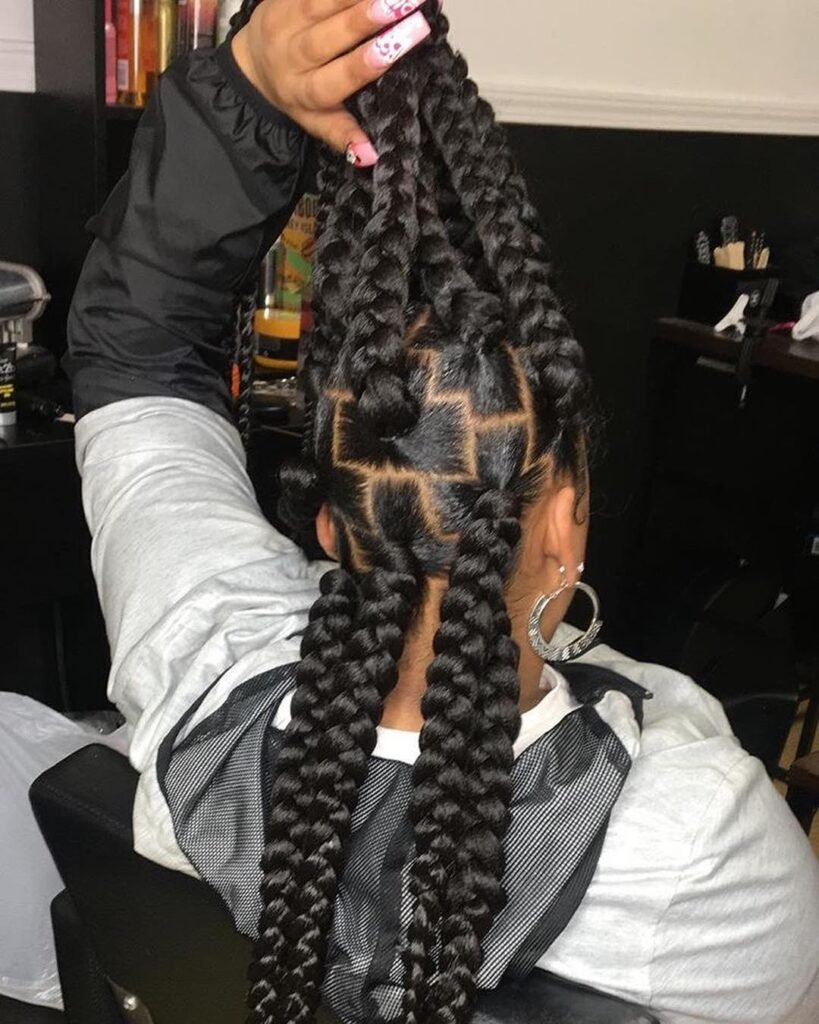
Create a row of hair sections of the desired size from the rear and divide them into two equal portions. Take hold of one portion and, using your separating comb, clip a tiny c-shaped section of hair off it, then join it to the other. You then braid. Make a new row, then continue the process. The procedure is simple and works especially well for large braided designs.
6. Jumbo Square Box Braid Parts
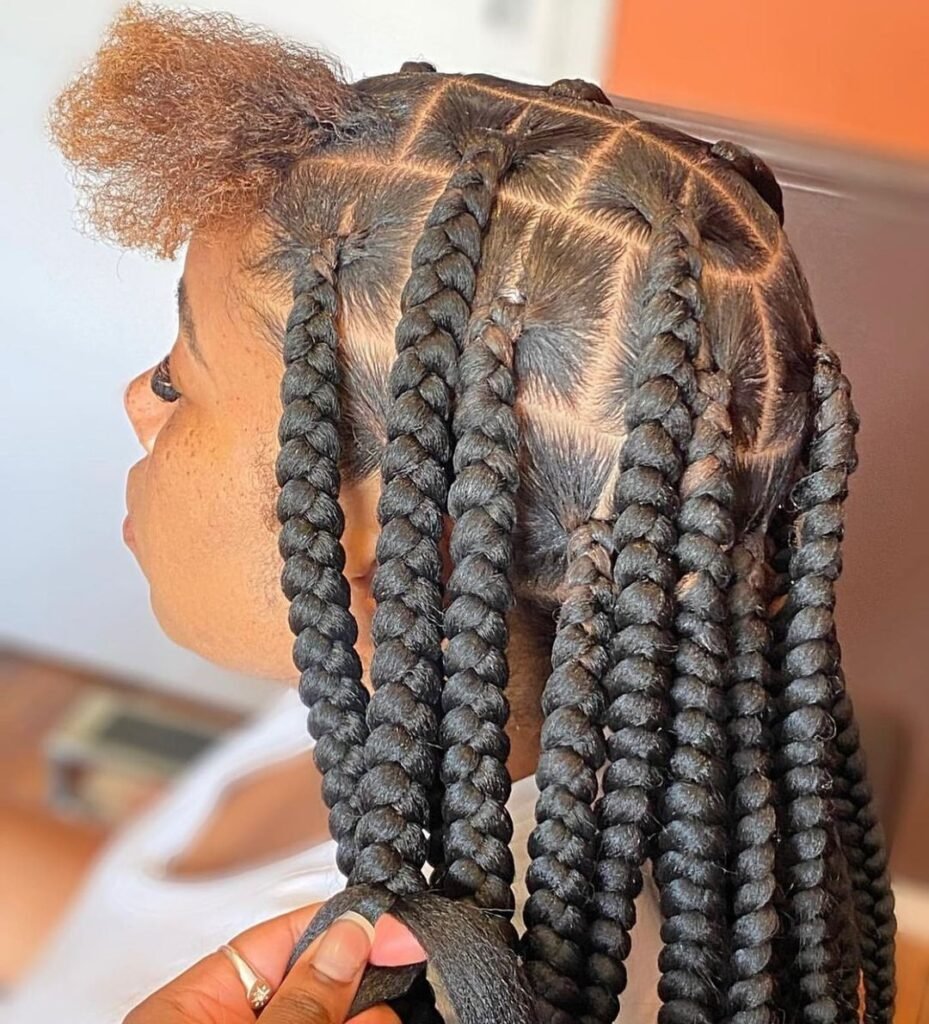
The same separating method as standard box braids, but with larger parts and in a shorter amount of time. Jumbo braids will produce a less voluminous overall look even though they can be a fantastic time-saving choice for any lovely box braid style.
7. Cross/Plus Sign Parts
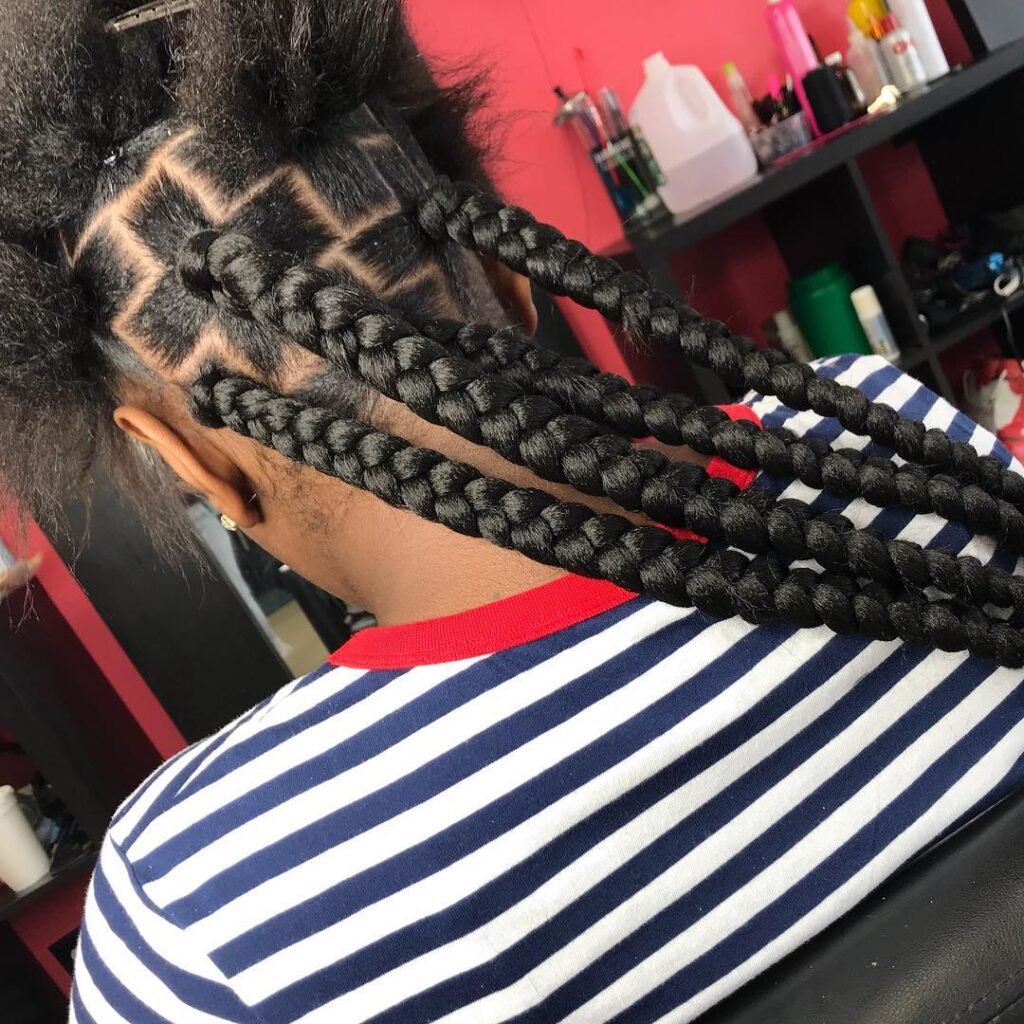
This design elevates large square parts by including additional sections that mimic the well-known cross symbol. For an even cleaner part, add gel and comb your hair into the rubber bands as you separate.
8. Spiderweb Braid Parts

The spiderweb parting style is complex, one that requires combining box braids and cornrows. Any quantity of hair will work to reproduce it; just be mindful of where your cornrows begin and end so they’ll fit in with the pattern.
9. Arch or Oval Part
Start at the back by parting a small section of hair in a clockwise or anti-clockwise manner and in a semi-circular motion. Once that’s done, start braiding. It’s super easy, and pretty much effortless!

