Braid Hairstyles
15 Beautiful Ways to Your Style Spring Twists
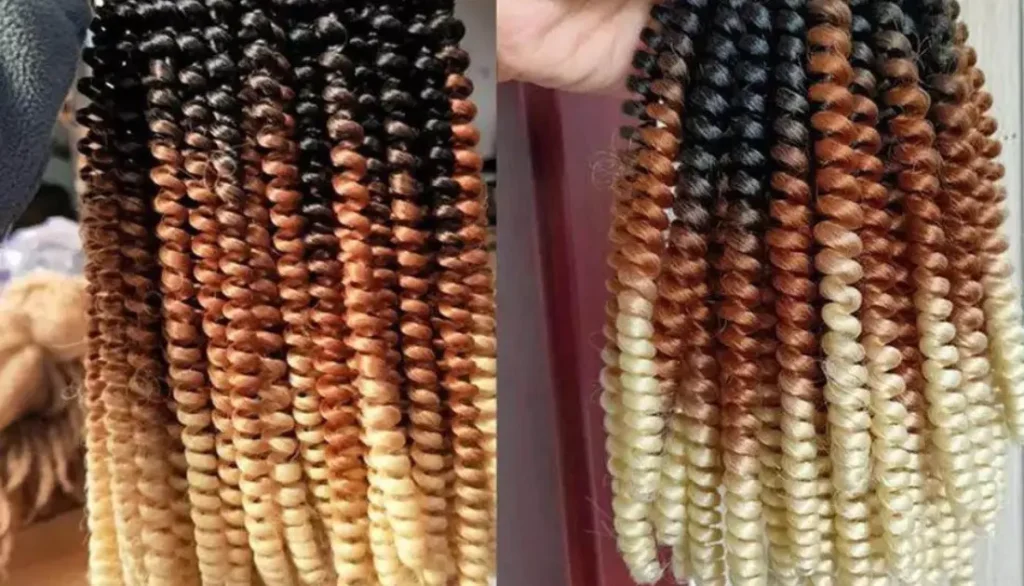
Spring twists are a type of braided hairstyle that involve twisting individual synthetic or natural hair strands around a small braiding hair to create a spiral effect. They are called “spring twists” because the tight spiral curls resemble springs. This style is low-maintenance and can last for several weeks with proper care, making it a popular choice for those who are looking for a protective style.
Spring twists are fun and versatile hairstyles and can be styled in countless ways. If you prefer a casual, formal look or a more polished, put-together style, spring twists can be tailored to fit your taste and lifestyle. In this article, we’ll provide you with step-by-step instructions and tips for styling your spring twists, so you can experiment with different looks and find the one that’s perfect for you.
How to Style Spring Twists: 15 Beautiful Ways
Styling your spring twists can be a breeze if you are equipped with the right tools and open to experiments! You could start with the easy one, playing around with different parts. Change up the way your twists are parted to switch up your look. Try a middle part, a side part, or a zig-zag part.
Add some personality to your twists by accessorizing with hair beads, charms, or hair rings. This would be an absolute stunner! You could also create different textures by twisting some sections of your hair tighter or looser than others.
Once your twists have been in for a while and have started to unravel, you can use a twist-out technique to create a curly or wavy look. Use light gels, creams, or mousses to help define your curls and add hold to your style. Not to forget, updos, buns, and ponytails are a great way to switch up your spring twists and for a fun and playful look silk or satin, bandanas are a sport.
Remember, the key to styling spring twists is to have fun and be creative. Try out different styles and see what you like best! Here are a couple of major spring twist styles inspo for you to try out!
1. Low Half up Half down

This spring twist features a unique style where the twists are split into a front and back section. The front section is then gathered into a low ponytail or bun with the back section left as it is. This is perfect for formal or casual occasions.
2. A Top Bun

Bun is a fun look! It accentuates the outline of the face bringing attention to the cheekbones. It is an easy style to install, start by figuring out how high you want your bun to be. Using your fingers take a section of twists at the crown area, and with a scrunchie secure in a bun that isn’t so tightly done.
3. Crown Braid
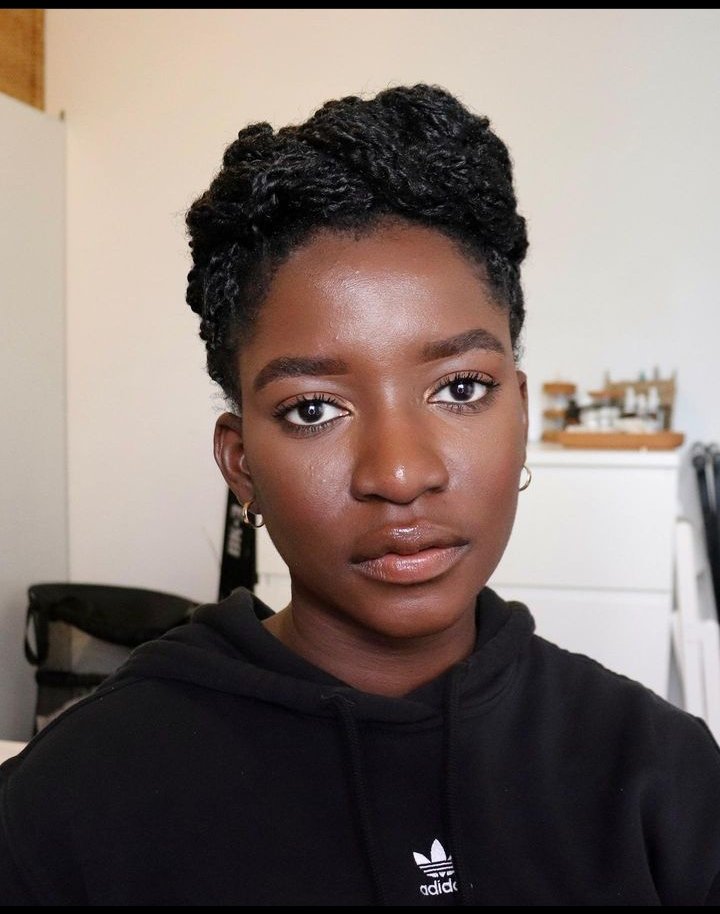
Updos are absolute favorites! And makes for a fantastic styling method. Spring twists can be styled as a crown braid and in a couple of minutes at that!
4. Middle Part Spring Twists
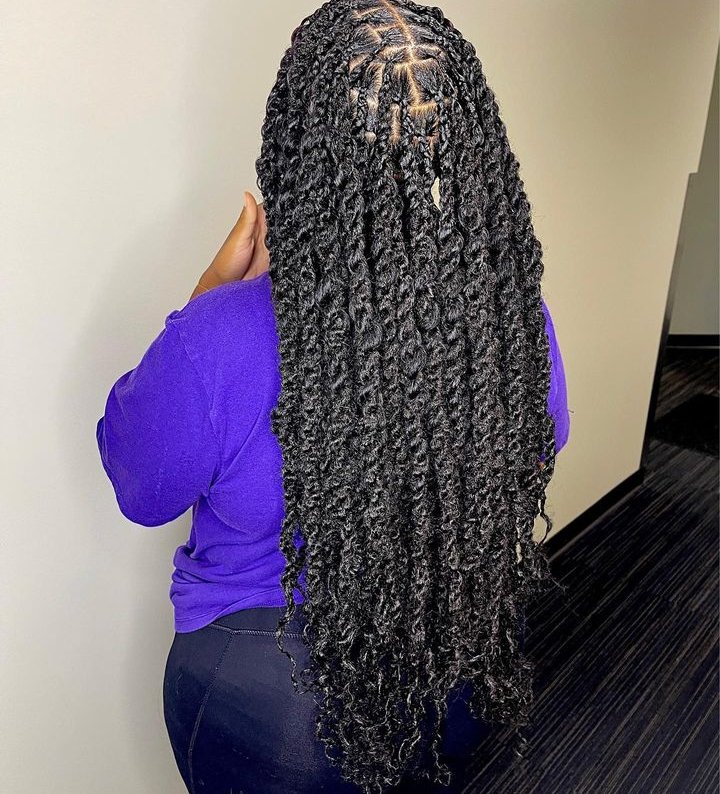
The middle part is forever here to stay and can hardly be done wrong. All it takes is to split the front hair twisted section into equal middle parts and slay on!
5. Spring Twists on Scarves
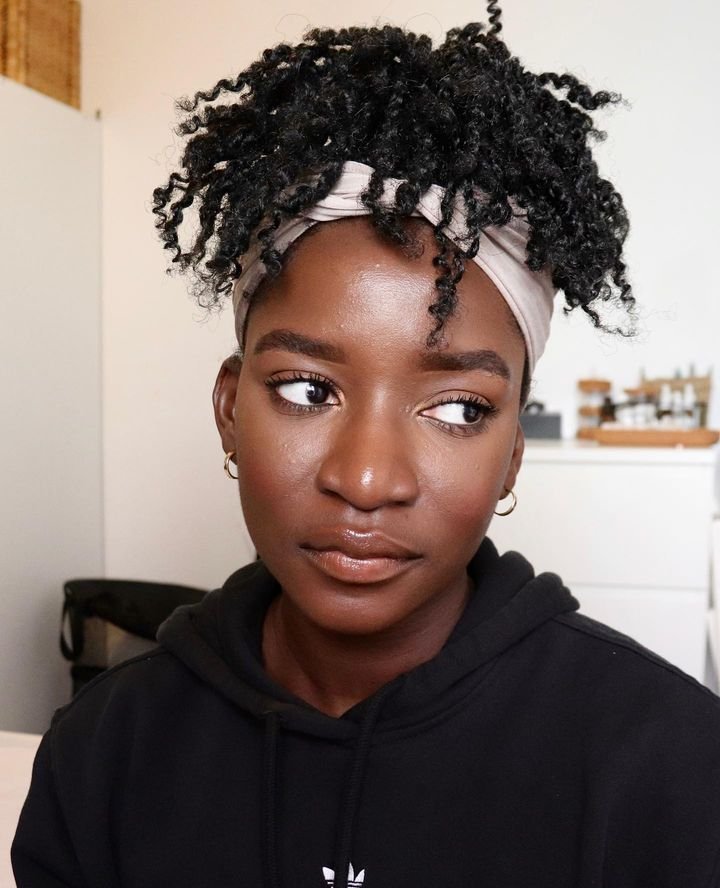
Donning your spring twists on silk or satin scarves isn’t just a great styling tip but it also does protect your hair during the day from contact with surfaces or objects that are likely to tug or pull at the twists due to its smooth texture.
6. A Top Half n Half
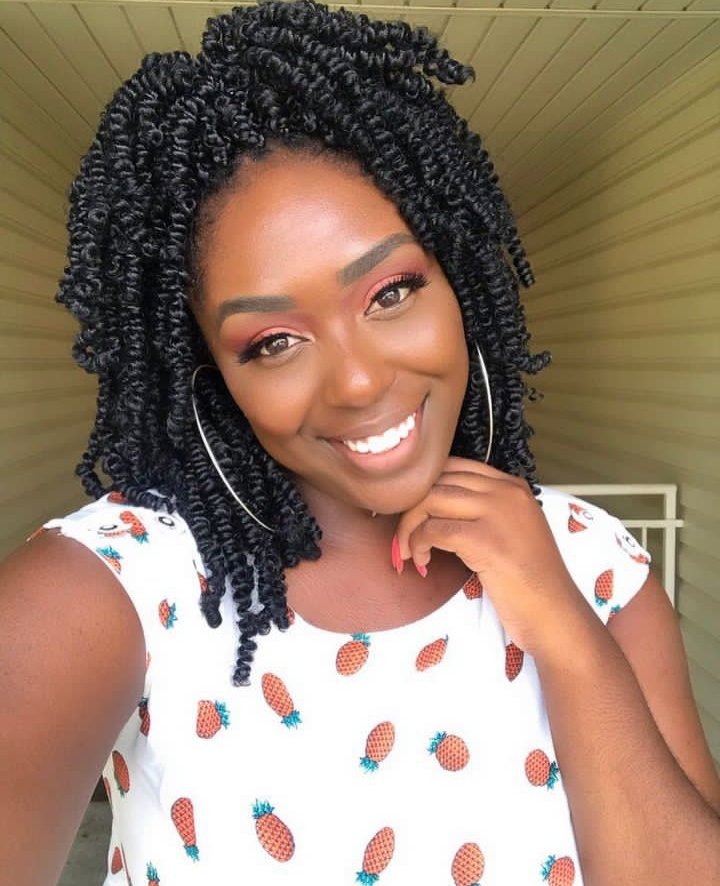
Half up half down is a trendy styling method and for good reasons, it especially works well with shorter spring twists as you can tell. Its popularity is also associated with its quick installation process and how easily it blends with the natural look.
7. A Side Part
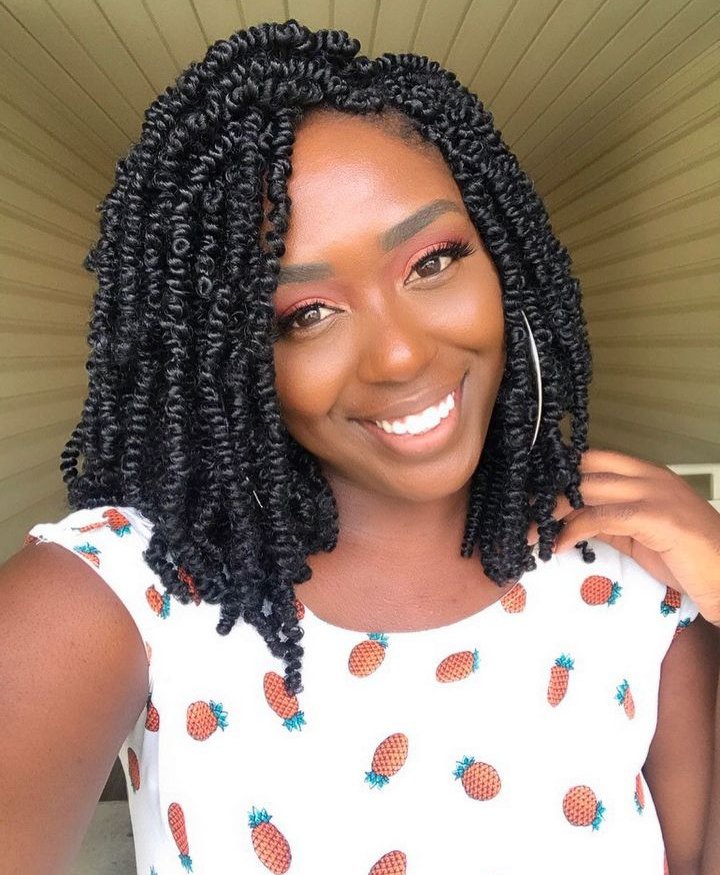
A side part is a forever classic and a fantastic way to style braids and spring twists. All it requires is for your fingers to do the magic!
8. Updo with Bangs
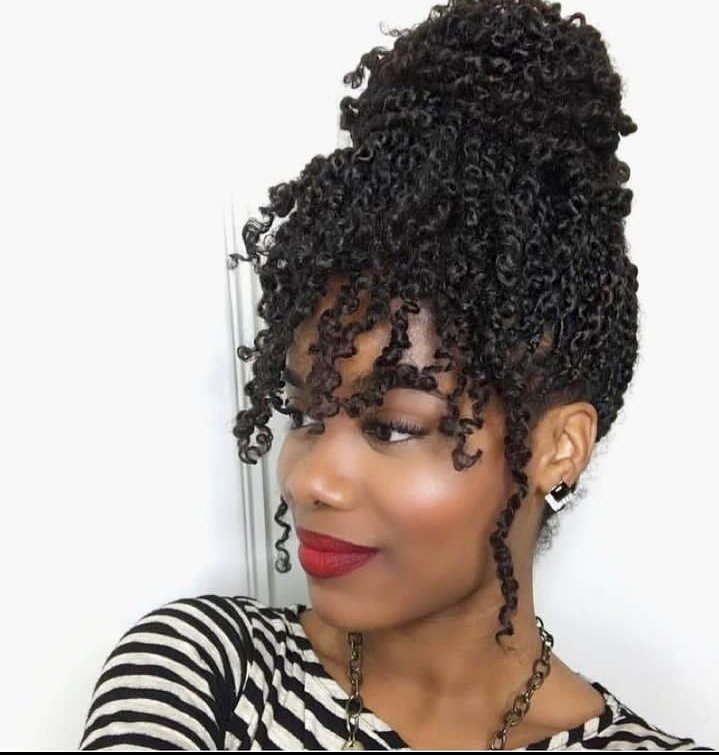
If this isn’t doing it for you, what else will? The natural aesthetic of this style is to kill for! Not to mention how it is that perfect hair look for girls to hang out and glam events.
9. Messy Half n Half
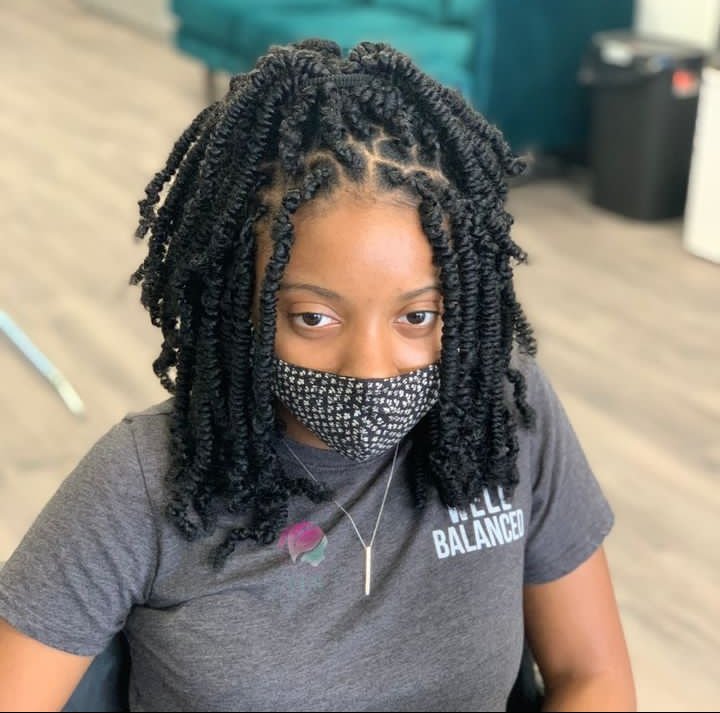
This gorgeous and unique style features a half-and-half look in a slightly tousled fashion and with a couple of twists dangling at the front section sums up the entire look.
10. Braided Spring Twists

Spring twists can be stylishly braided, yeah! Looking to spice up your twists, do some braids. Start by splitting the hairstyle into a front and back section. With the front section, divide it into rows of twists and braid loosely as you would a three-strand braid. Afterwards, secure the section with a hair tie or scrunchie.
11. Middle Part, Low Ponytail

This is a chic method of styling spring twists, especially for longer lengths, here a couple of twists are selected from the front hair section at two sides and secured with a hair tie or scrunchie as a ponytail.
12. A No Part Look
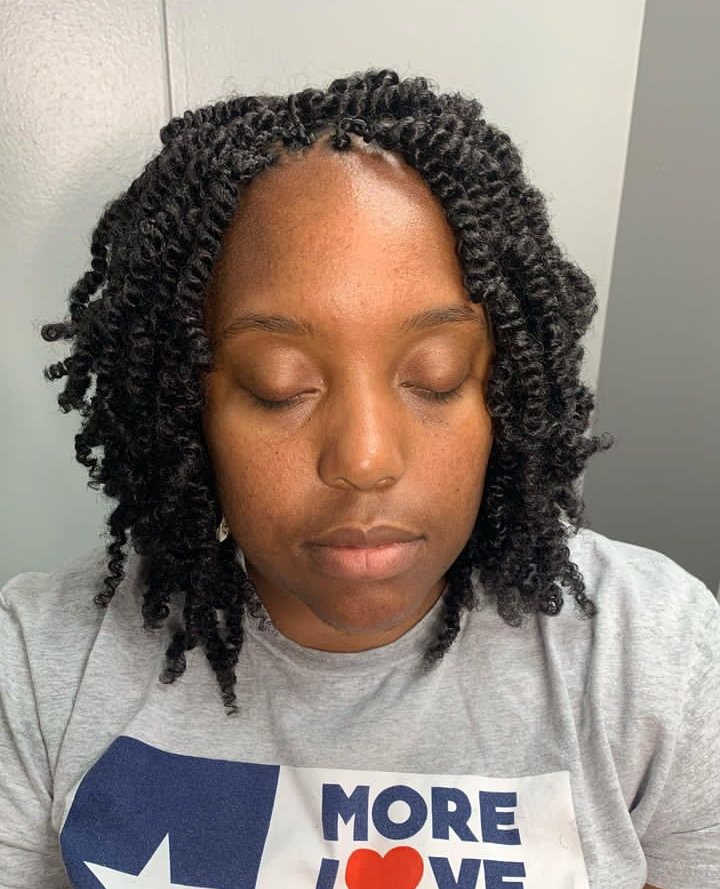
For natural hair enthusiasts these tops as their go-to styling method as it is akin to the naturality they are all about. This style requires no time to create as a slight ruffling with your hands would do the trick.
13. Using Bobby Pins
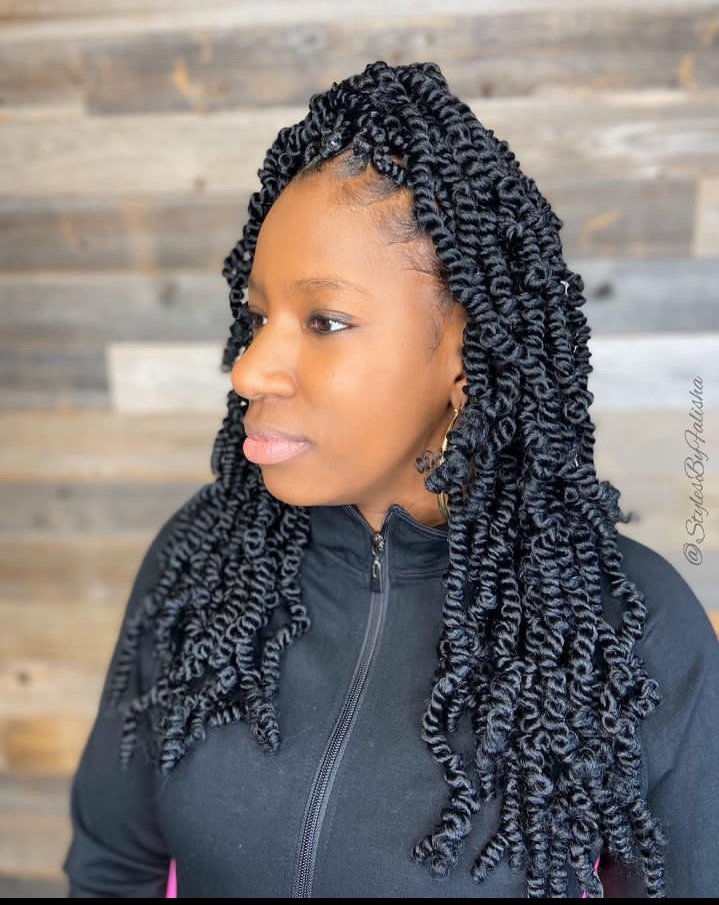
Bobby pins can be used to keep the style in place as well as create one. In this style, bobby pins are used to hold the front pieces together creating a small lift such as a half up half down look.
14. Side Part and Tucked in Twists

For those that typically avoid shorter length twists or braids for fear of limited styling options. Think again! This style gives off a stunning outcome, featuring a side part with the rest of the front section being tucked in beautifully with bobby pins. You should try this out!
15. High Ponytail

This is probably the easiest way to style spring twists and the result is equally stunning! Grab a scrunchie and secure all of the twists on a high ponytail.
How to Extend the Longevity of Spring Twists Styles
If you find it troubling to keep your style in for a couple of days. Here are some tips for extending the lifespan of your spring twists styles:
- Moisturize regularly: To keep your hair and scalp healthy and hydrated, moisturize your twists with a light oil or leave-in conditioner every few days. This would allow the longevity of the style you keep your twists in.
- Protect at night: Wrapping your hair in a silk or satin scarf or sleeping with a silk or satin pillowcase to protect your twists from friction which would enable the styles to stay in for longer.
- Use Pins to Keep in Place: The addition of bobby pins would have more hold and keep the style in for longer.
- Refrain from Touching: Constantly touching your hair would ruin your style not to mention introduce dirt and germs to your hairstyle! Bring your hands to hair contact to a minimum.

