African Braids
Lemonade Braids Hair: How to Determine the Proper Pack Count
Lemonade braids are a thing and really attractive to boot! Do you want to know how many packs of hair you will need to achieve your preferred style? Continue reading!
What are Lemonade Braids?
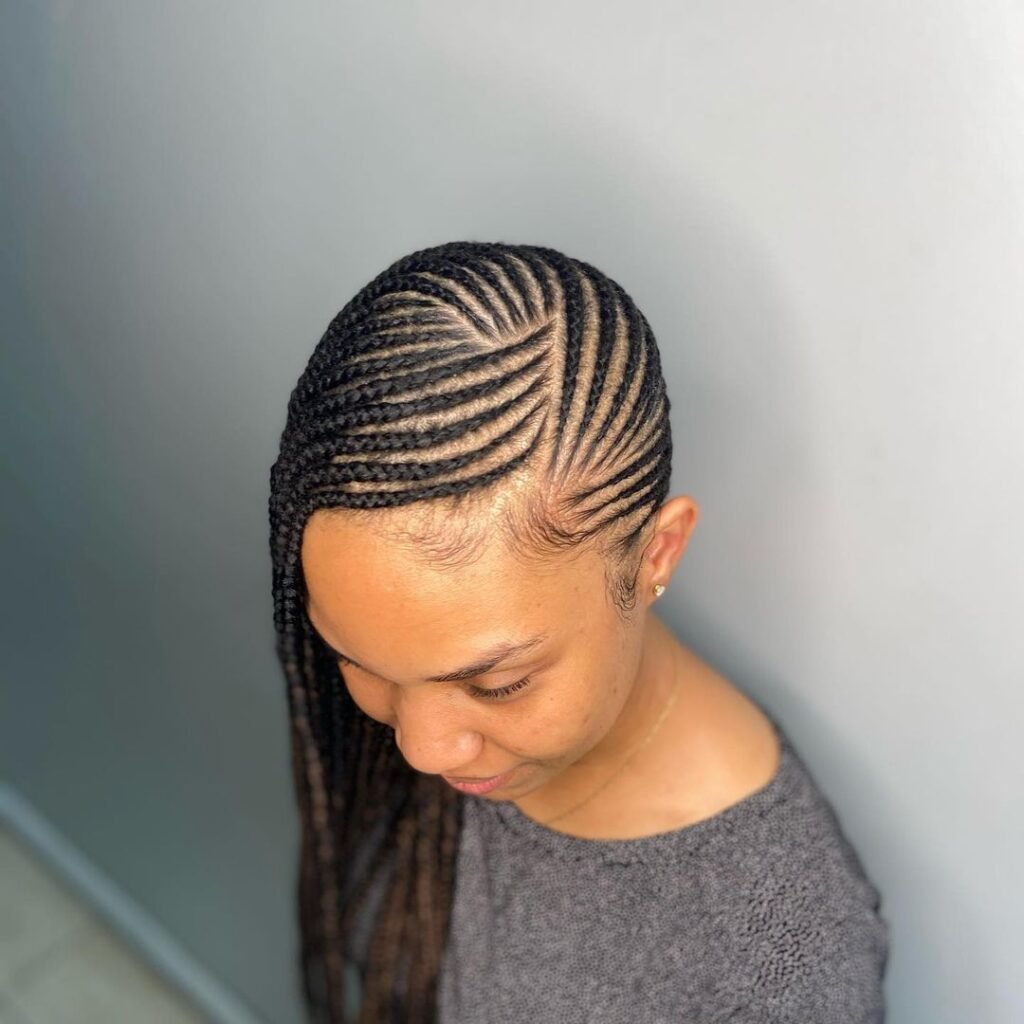
Long side-swept cornrows that cascade to one side of the shoulder are known as lemonade braids. Depending on personal preference, they can reach as high as the chest or as low as the waist.
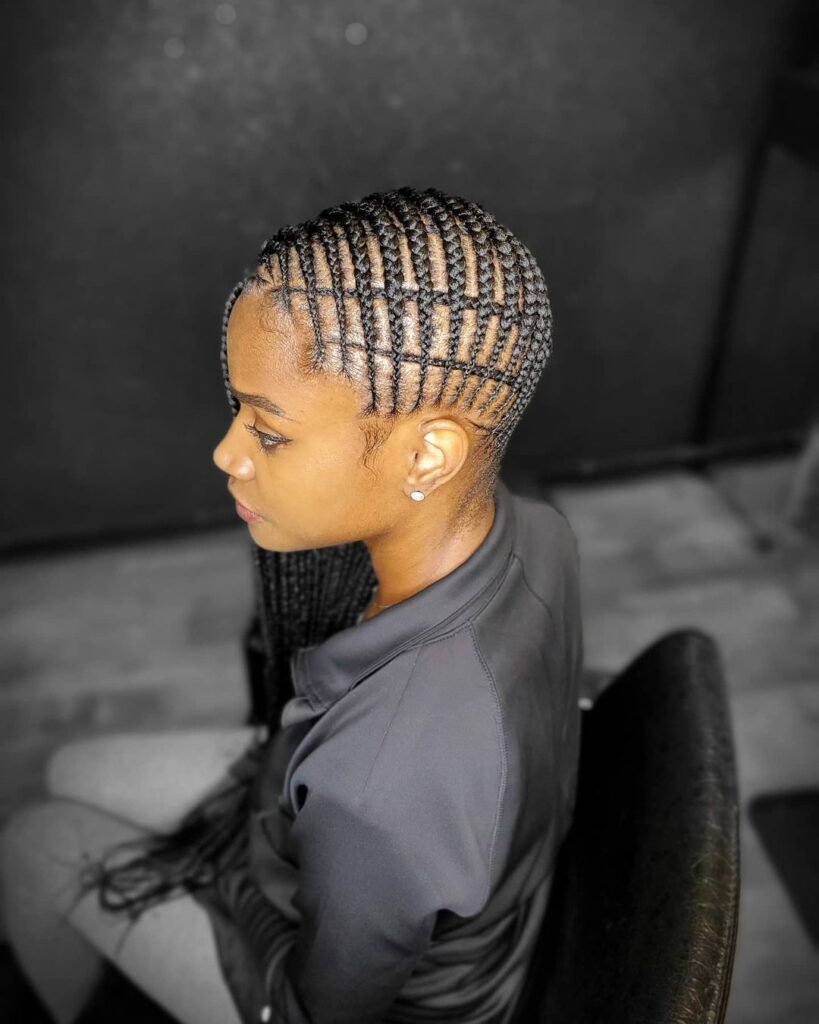
Small, medium, or huge lemonade braids can be made using braid extensions or one’s natural hair. It’s a fashionable protective look that you can wear at any time of year and for any occasion. They are adaptable and can be easily styled and offer versatility with outfits and accessories. And, can be worn in a variety of striking hair colors.
With the release of Beyoncé’s album Lemonade, the phrase “lemonade braids” became popular as she wore the pull black braids. It became an iconic look and a fast trend among black women.
If you like lemonade braids, you can wear natural braiding hair extensions or not. Long cornrows in lemonade braids drape over the shoulder and cross the side of the head.
How Many Packs of Hair for Short Lemonade Braids

The size and thickness of the hair might affect how much hair is needed for short lemonade braids, which are to die for and beautifully frame the face. To be safe, two to four packs of hair will do. A larger size will typically require more packs of hair.
How Many Packs of Hair for Mid Back Lemonade Braids

Lemonade that is mid-back length, also known as chest level, is the most popular length. It allows versatility because it is not too long or too short. Depending on the style and size, the usual number of hair packs needed might range from four to six packs.
How Many Packs of Hair for Long Lemonade braids

Beautiful long lemonade braids take more effort to install. Depending on the style you want and the thickness of your natural hair, you’ll need four to eight packs to reach this length.
How many Pack of Hair for Jumbo Style Lemonade Braids

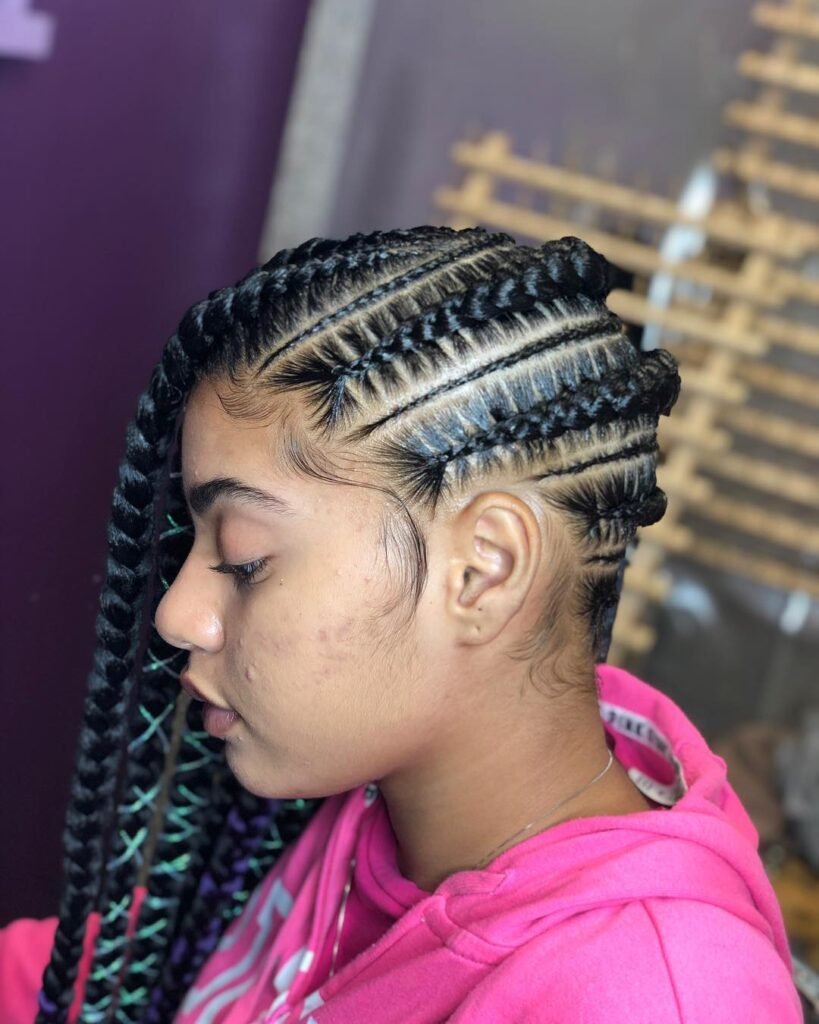
The best braiding pattern to control and manage a large mane is jumbo lemonade braids. This statement style can be a dream come true for women with thick, curly hair because it controls your tresses while making you look gorgeous and fashionable. To get this look, use four to eight packets or more.
How to Install Lemonade Braids
Because moisturizing shampoo is kinder to the hair than conventional shampoo, washing your hair with it before braiding is advised. Following that, you must apply a conditioner to provide your hair the gliding movement and hydration it needs to stay healthy.
To decrease stress on the hair strands, which are delicate when wet, start detangling hair in parts using a wide-toothed comb, starting at the tip and working your way up.
After detangling the hair, rinse off the conditioner, pat the hair dry with a microfiber towel to reduce friction on the strands, and then use a leave-in conditioner to keep the hair hydrated all day! Blow-drying the hair would stretch it out, making the braiding technique less painful and improving the parting’s style and neatness.
Before blow-drying your hair, you should spritz heat protectants on the hair sections since too much heat can damage the natural proteins in your hair and change the way it looks.
You may create voluminous and lovely lemonade braids with the help of braided hair extensions. The following instructions will show you how to create lemonade braids using human braiding hair extensions:
Start the procedure with a clean and prepared hair bundle, one that has been pretreated to prevent the itching that results from the extension touching the scalp.
To treat the hair bundles, soak them for two hours in a bowl of water that has been diluted with about 2.5 cups of acidic vinegar. Then, give them a good rinse and let them air dry overnight. Additionally, pre-stretching was done to prevent blunt ends. If you want to save time, there are hair extensions that have already been prepped and stretched.
Pull a portion of hair from the upper center area of the hair and shape it into a U shape using a rat-tail comb. Secure this part with an elastic band so you can style it afterwards.
Starting at the nape of your neck, divide your hair into straight, horizontal sections. Create a bottom braid at the nape of your neck by side-braiding your long hair. As you braid your hair, add the braid hair extensions one at a time to the right side of the extension and in this form, stitches are also made.
To achieve a broader, thicker effect, add more extensions every two or three stitches to 20. Once it reaches the desired length, secure the braid with an elastic hairband.
The U-shaped piece should be untied and divided into smaller halves. To create a side-swept appearance and have the lemonade braids stand out, braid them toward your front while adding hair extensions as you go.
How Long Does it Take to Install?
This is not a fast-fix hairdo, I should let you know in advance. Lemonade braid installation takes three to six hours. Naturally, the length will depend on how intricate or basic you want your lemonade braids to be. The longer length and more sophisticated styles would require much more time than simpler and shorter ones.
What is the Best Hair for Lemonade Braids?
There are so many varieties to choose from and not one specific to lemonade braids, the key to making a choice is choosing an extension suitable to your hair texture, color, and taste. X pression, Marley Braiding hair, and Kenakelon are among many that fit into the bracket and are reasonably priced.
Care Tips for Lemonade Braids
Lemonade braids are low maintenance and can last up to four weeks with proper care. It will be damaging to your hair health if adequate care is neglected as well as distort the longevity of the braids.
- First of all, keep your scalp healthy and moisturized, do this by massaging lightweight oils to the scalp and this would also keep it shiny.
- Braid washing is possible and quite necessary, as the accumulation of moisture, dirt, and oils, can serve as a breeding ground for bacteria. However, you do not want to overdo it to cut down on the frizz. To get a wash it is advised to do so after two weeks.
- The nighttime protecting device is super important as it not only helps preserve the style but also keeps frizz at bay. In essence, don’t forget to go to bed without a silk or satin head wrap, their smooth surface allows for an easier glide and less friction.
- Be mindful of the edge product, you don’t want to use it too much. In as much as keeping the edges sleek and laid, is a beautiful thing and might be your thing, you want to tone it down a notch as that would require washing off and frequently, increasing frizzing the process.
- Keep a hairspray in handy to add shine to the braids and combat frizz and new growth.


